For the past four years there has been established a much loved tradition in our Russian community of celebrating Father's Day with a giant picnic. Due to scheduling conflicts with the main organizer, this year's picnic was actually postponed and we all celebrated Father's Day one week later. The picnic has a lovely way of bringing together many of the smaller groups into one large gathering and everyone looks forward to it every year.
The picnic is held in a rather potluck style, with each family bringing what they can. There is usually a vast array of salads, meats, fruits, and dessert. Basically it's one big food fest with occasional drinking, singing along to guitar songs, soccer games, card playing, and general merriment.
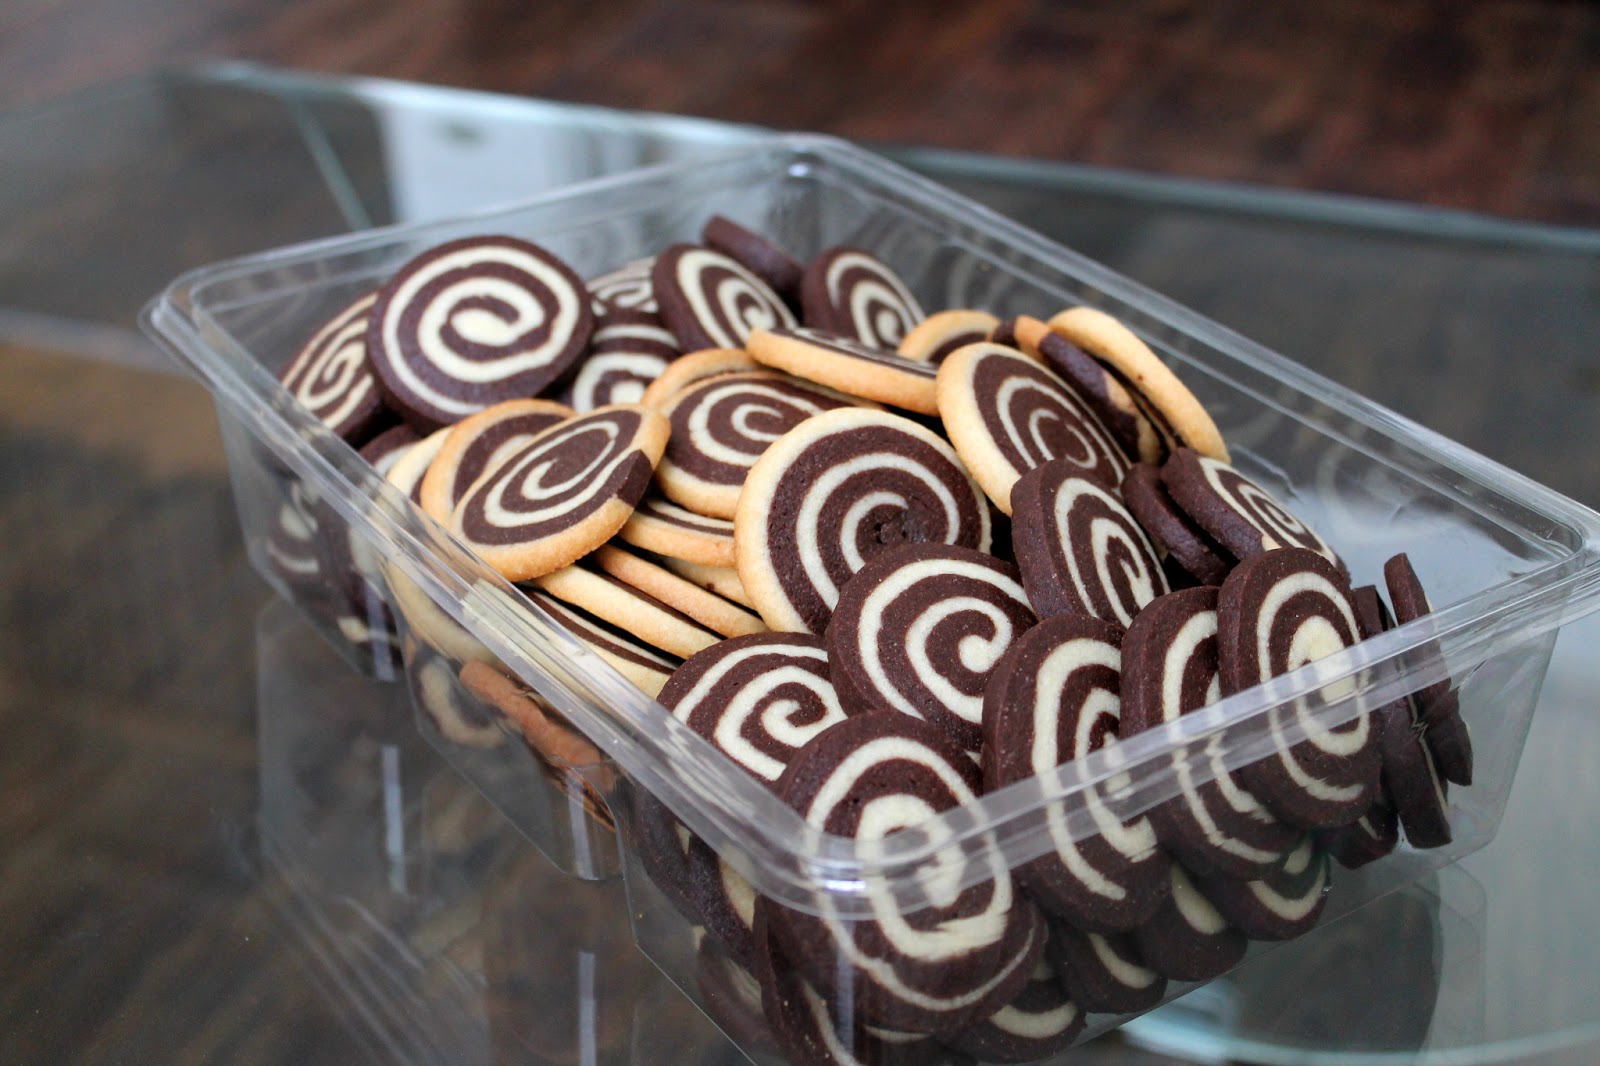
When I came across this recipe last week I thought it would be fun to bring to the picnic since these cookies look very visually appealing. Granted rolling the dough out was a little time consuming since it had to be done six times (three for each flavor) but once that was out of the way the rest was a breeze.
I split the task into two days, making the dough and shaping it into logs the night before the picnic and then slicing and baking the cookies the next morning. I have never made a "slice-and-bake" cookie dough before but having done it now I can see why it is so appealing; the preparation of the dough can be done well in advance and then frozen into logs. Then, once you're ready, you simply slice the log into cookies and bake. Best of all, you don't have to bake the whole log at once...you can decide to make as many or as few as you want at the given moment.
Although the cookies featured a chocolate and vanilla dough the taste of the chocolate was quite strong, therefore the cookies simply tasted like chocolate cookies. However the pinwheel design was quite intriguing and earned many "oohs" and "aahs" from those at the picnic. They were definitely a hit and enjoyed by young and old alike.
Chocolate Pinwheel Cookies
Makes approximately 100 palm-sized cookies.
- 1¼ cups butter, slightly softened
- 1¼ cups sugar
- 1 egg
- 1 tsp vanilla extract
- 3 cups flour
- ½ tsp salt
- ¼ tsp baking soda
- 2 tbsp strong coffee, cooled
- 4 tbsp unsweetened cocoa powder
- 4 oz (112 g) bittersweet chocolate, melted and still warm


- In a large bowl cream the butter for 2 minutes until smooth.
- Mix in the sugar and beat for an additional 2 minutes.
- Add the egg and vanilla and beat until well combined.
- Sift in the flour, salt, and baking soda and mix until just combined.
- Remove 2 cups of the dough and set aside.
- Add the cooled coffee and cocoa powder to the remaining dough.
- Mix in the melted chocolate until well combined.
- Divide each dough into three equal pieces, so as to have 3 chocolate and 3 vanilla.
- Shape each piece into a 5×5 square on wax or parchment paper, top with another piece of wax or parchment, and the roll each square into a 7×7 square. (The dimensions don't have to be 100% accurate, just make sure to roll the dough out to be thin and approximately the same size). Refrigerate for 15 minutes.
- Take one vanilla square and one chocolate square and remove one piece of waxed paper from each. Align the two layers together evenly, one on top of the other, and gently press to seal both layers together.
- Take off top layer of wax paper and slowly start to curl edge of the dough up and over using the bottom waxed paper for help, not rolling it into the cookies.
- Roll the dough into a tight spiral roll, pinwheel, avoiding spaces in-between.
- Once formed, gently but firmly roll back and forth to compact the roll and make it about 9 inches long, 1½" thick. Cover in plastic wrap, twisting ends to seal it closed. Repeat with remaining layers.
- Refrigerate for 3 hours before using or freeze for up to two months.
- Once ready to bake slice the cookie log into ¼" thick cookie slices and lay out onto a parchment-lined cookie sheet. The cookies won't spread too much so don't worry about spacing them too far apart.
- Bake for 12-14 minutes at 350 degrees Fahrenheit and transfer warm cookies to wire rack to cool.


how pretty :)
ReplyDelete